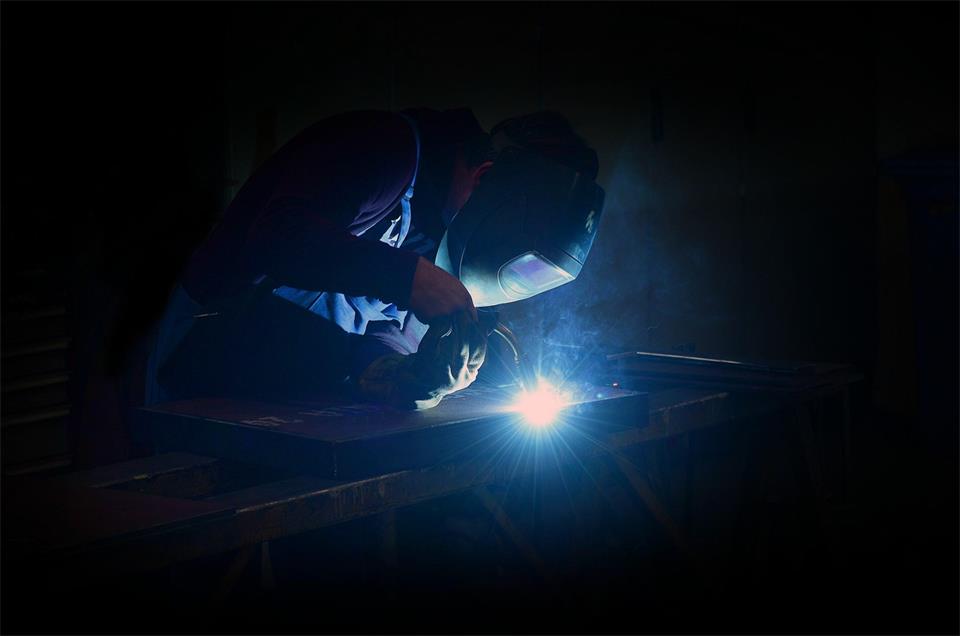
Defects in welding are not caused by welding but by improper preparation of the surface. Repair work, raw material wastage, and unwanted rejects are common since contaminated joints are responsible for the majority of welding defects.
According to industry studies, weld defects and rework can account for 10% to 15% of a fabrication shop’s total labor and operational costs, with the majority originating from poor surface preparation. Fix the prep, and you fix the margin.
Step 1: Identify your material and its contaminants
First, identify the material. Before you do anything else, look at what’s coming out of your shop. Is it aluminum, carbon steel, stainless steel, or something that’s not immediately obvious? Remember, many carbon steels are protected by oil. You’re going to have to clean the oil off before you can even begin to clean the steel.
Second, know what you’re dealing with. Carbon steel usually presents few challenges, but stainless and aluminum are absolutely not happy materials. Shops that consult welding experts early on avoid a lot of costly mistakes here. If you’re off a half-degree in your angle cutting wood, that’s fine. If you’re off a half-degree going to the wheel on stainless or aluminum, your part likely just became a reject.
Step 2: Degrease chemically before any mechanical work
Here’s where a lot of shops get the sequence wrong. Mechanical grinding before degreasing is counterproductive. Abrasive wheels and flap discs don’t remove oils – they smear them. Hydrocarbons from cutting fluids, anti-rust coatings, and general shop grime get forced deeper into the metal’s surface pores under the pressure and heat of grinding.
Solvent degreasing comes first. Acetone is the standard choice for most metals – it evaporates fast, leaves no residue, and doesn’t react with the base material. Apply it with a clean lint-free cloth, wipe in one direction, and let it flash off before moving on. Don’t reuse the same cloth; you’ll just redistribute the contamination.
For TIG welding (GTAW), this step isn’t optional. TIG is the most contamination-sensitive process in the shop. Any hydrocarbon decomposing under the arc releases hydrogen, and hydrogen in a weld joint causes cracking. The HAZ – the heat-affected zone around the weld – is particularly vulnerable during the heating cycle.
Step 3: Remove mill scale and rust down to bright metal
Degreasing removes the oils but doesn’t eliminate the mill scale or significant oxidation which must be mechanically displaced.
Mill scale is the black, magnetic oxide skin that forms on hot-rolled steel. It acts as an insulating barrier. This prevents the electrode from acting on the work and makes the weld pool very difficult to control. The result is an unstable arc, spatter, lack of inter-run fusion, and porous welds.
The latter are recognizable as a series of small dots on the weld surface – they are actually holes in the steel that make the weld weak. A grinder or flap disk is needed to get through this stuff and reveal pure, bright, shiny steel.
Rust gets the same treatment. Surface rust may look superficial, but even light oxidation at the joint face is enough to cause fusion problems and porosity under the weld pool. Clean past the rust, not just through it.
Step 4: Use dedicated, material-specific wire brushes
It is necessary to use a separate wire brush for each material type. This is an important rule to follow in the shop to ensure the protection of the work and the business.
For instance, using a stainless steel wire brush that was previously used on carbon steel will have iron particles that can be transferred when brushing a stainless joint. These particles will then be oxidized when welding under the arc, causing the corrosion resistance of the stainless to be compromised. This can create a defect that may only become apparent when the job fails while in service. The same principle applies when working with aluminum.
To prevent this from happening, it is important to label the brushes, keep them separate, and consider any brush that cannot be traced back to the material it was last used on as contaminated.
Step 5: Clean the joint geometry – not just the flat faces
When you prepare a joint, you create recessed geometry – such as bevels, root faces, and backing bars – which tend to trap debris in ways that flat stock doesn’t. Cutting fluids and lubricants tend to pool in the faces of bevels. Moisture collects in root gaps and backing bar channels. Leftover debris from cutting and grinding accumulates in root faces.
These recession areas are also the first places in a weld to show contamination. Porosity and slag inclusions tend to start in the areas where cleaning is difficult. In multi-pass welds, interpass cleaning between each bead is mandatory for the same reason – slag left on a completed pass gets trapped under the next one, and no amount of skill at the torch recovers a weld built on top of contamination.
Give the joint geometry the same attention as the surface faces. Get a brush or a clean cloth into the bevel. Wipe out the root. Check backing bars before fit-up.
Step 6: Final solvent wipe, then weld without delay
The last step before the arc is a final solvent wipe using a clean microfiber cloth. This removes any residual dust from mechanical prep, any fingerprint oils from handling, and any particles that settled during fit-up.
Then weld. Don’t leave cleaned metal sitting. Oxides reform on the surface almost immediately – faster in humid environments. Moisture condenses. The whole point of the sequence is to hand clean, prepared metal to the welder, and that window closes quickly.
Cleaning protocol as a shop-wide standard
Written pre-weld cleaning standards are important for any production environment where multiple welders are working the same job. Otherwise, each will clean their way – which means inconsistency, and inconsistency means defects.
Clean metal welds better. Welds that pass first-time inspection don’t get reworked. Rework that doesn’t happen doesn’t cost money. That’s the business case, and it starts at the prep bench.