You don’t need a Hollywood budget to create a professional streaming setup in your own space. With the right equipment and a bit of planning, you can transform a corner of your home into a broadcast-ready studio that rivals professional productions.
Whether you’re streaming gaming content, hosting webinars, or producing educational videos, here’s everything you need to get started.
Choose Your Space Wisely
Location matters more than you think. Find a quiet room where you can control the lighting and minimize background noise. Ideally, you want a space away from windows to avoid inconsistent natural light, though if you must use a room with windows, invest in blackout curtains.
It’s important to consider the background, too. A cluttered bookshelf might work for casual streams, but a clean, professional backdrop will elevate your production quality. Test your space by recording a quick video and listening carefully for echoes or ambient noise.
Invest in Quality Video Equipment
Your camera is the window through which your audience sees you. While webcams have improved dramatically, a DSLR or mirrorless camera will give you that professional edge with better depth of field and image quality. This is where something like the Epiphan Pearl Nano becomes invaluable.
It’s a compact video production system that lets you mix multiple camera angles, switch between sources, and stream directly to multiple platforms simultaneously. It handles the technical heavy lifting so you can focus on your content.
Pair it with good lenses, and you’re looking at broadcast-quality video without needing a production crew.
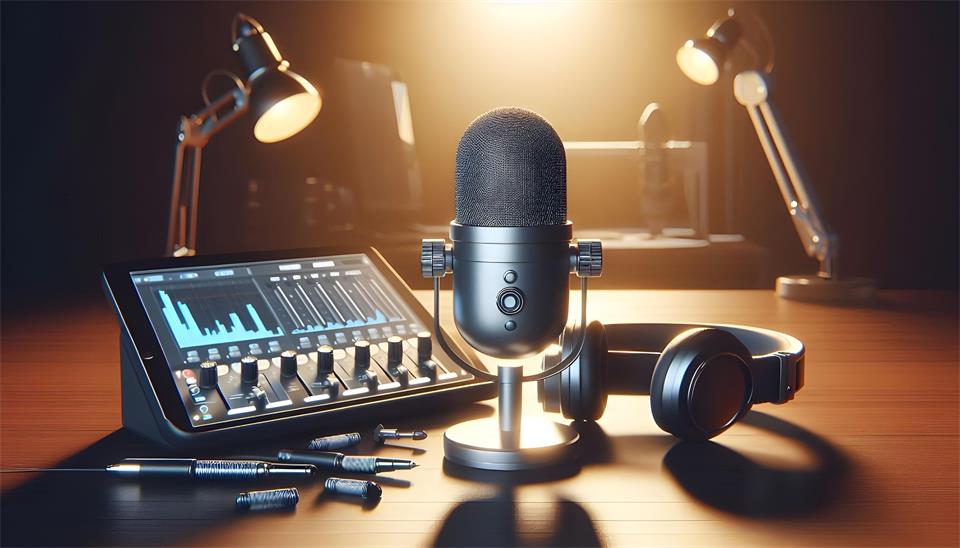
Audio Comes First
Here’s a truth that surprises many new streamers: your audience will forgive mediocre video before they’ll tolerate bad audio. Get yourself a decent microphone. USB condenser mics offer excellent quality for the price, while XLR setups give you more professional control.
Don’t forget a pop filter to eliminate those harsh plosive sounds. Position your mic close enough to capture clear audio but not so close that every breath becomes a windstorm.
Light Yourself Properly
Three-point lighting is your friend. You’ll need:
- A key light as your main light source
- A fill light to soften shadows
- A back light to separate you from the background
Ring lights work great for solo streamers, and they’re affordable. Softbox lights give you more control and a more professional look. Whatever you choose, make sure you’re well-lit, and the light temperature is consistent across all sources.
Get Your Technical Infrastructure Right
You’ll find that nothing kills a stream faster than technical problems. You need reliable internet—hardwired ethernet beats WiFi every time. Aim for at least 10 Mbps upload speed for HD streaming.
Your computer should have enough processing power to handle encoding without dropping frames. Consider a dual PC setup if you’re gaming and streaming simultaneously.
Don’t Forget the Details
There’s no doubt about it: the little things matter. Cable management keeps your space professional. A green screen expands your creative options. Stream deck controllers let you switch scenes with a single button press. Good streaming software like OBS or vMix gives you the control you need.
Start simple and upgrade as you grow. You don’t need everything on day one. Focus on the fundamentals: good audio, decent lighting, and stable internet. Master those basics, and you’ll be streaming like a pro before you know it.